An interview can sound clear in the room and become surprisingly difficult to understand afterward. A speaker turns away while answering, a coffee cup lands beside the microphone, or an air conditioner creates a steady hum that no one noticed during the conversation. The recording still exists, but important names and phrases may be buried under noise.
Clear interview audio depends more on preparation and microphone placement than expensive equipment. Transcription begins with the recording itself. If the original speech is distant, distorted, or interrupted, the transcript will require more correction no matter which software processes it.
Check the Recording Rules First
Before recording, confirm that the interviewee understands what will be captured and how it will be used. Consent requirements vary by location and situation, and professional organizations may have additional policies for employees, clients, research participants, or confidential sources.
A short explanation is usually better than an unclear request made after the conversation has already started. State whether the recording is only for note verification, whether it will be transcribed, who may receive the transcript, and how long the files will be kept.
Sensitive interviews need a storage plan before the first question. An offline transcription recorder may be useful when the conversation should not depend on a live internet connection or when files need to remain under closer local control. Offline processing does not remove the need for careful handling. Copies created during export, backup, and review still need protection.
Choose the Quietest Available Position
A perfectly silent interview location is rare. The practical goal is to avoid noise that sits in the same frequency range as speech or changes unpredictably.
Before settling into a room, listen for:
- Air conditioners and ventilation systems
- Refrigerators or coffee machines
- Traffic near windows
- Music playing through ceiling speakers
- Keyboard noise from nearby desks
- Doors opening and closing
- Other conversations
A constant low sound is often easier to manage than sudden interruptions. Moving two seats away from a ventilation unit may improve the recording more than changing any device setting.
Large empty rooms can create strong echoes. Curtains, carpets, upholstered furniture, and bookshelves help absorb reflections. In a hotel room or temporary office, choosing a smaller furnished area generally produces cleaner speech than sitting in an open lobby.
Outdoor interviews bring different problems. Wind can overwhelm a microphone even when it feels mild. Place the recorder behind a physical wind barrier when possible, and avoid locations where passing vehicles repeatedly interrupt answers.
Keep the Recorder Close to the Speaker
Distance is one of the most common causes of poor interview audio. A recorder placed in the middle of a large table may look tidy, but it captures more room sound and less direct speech.
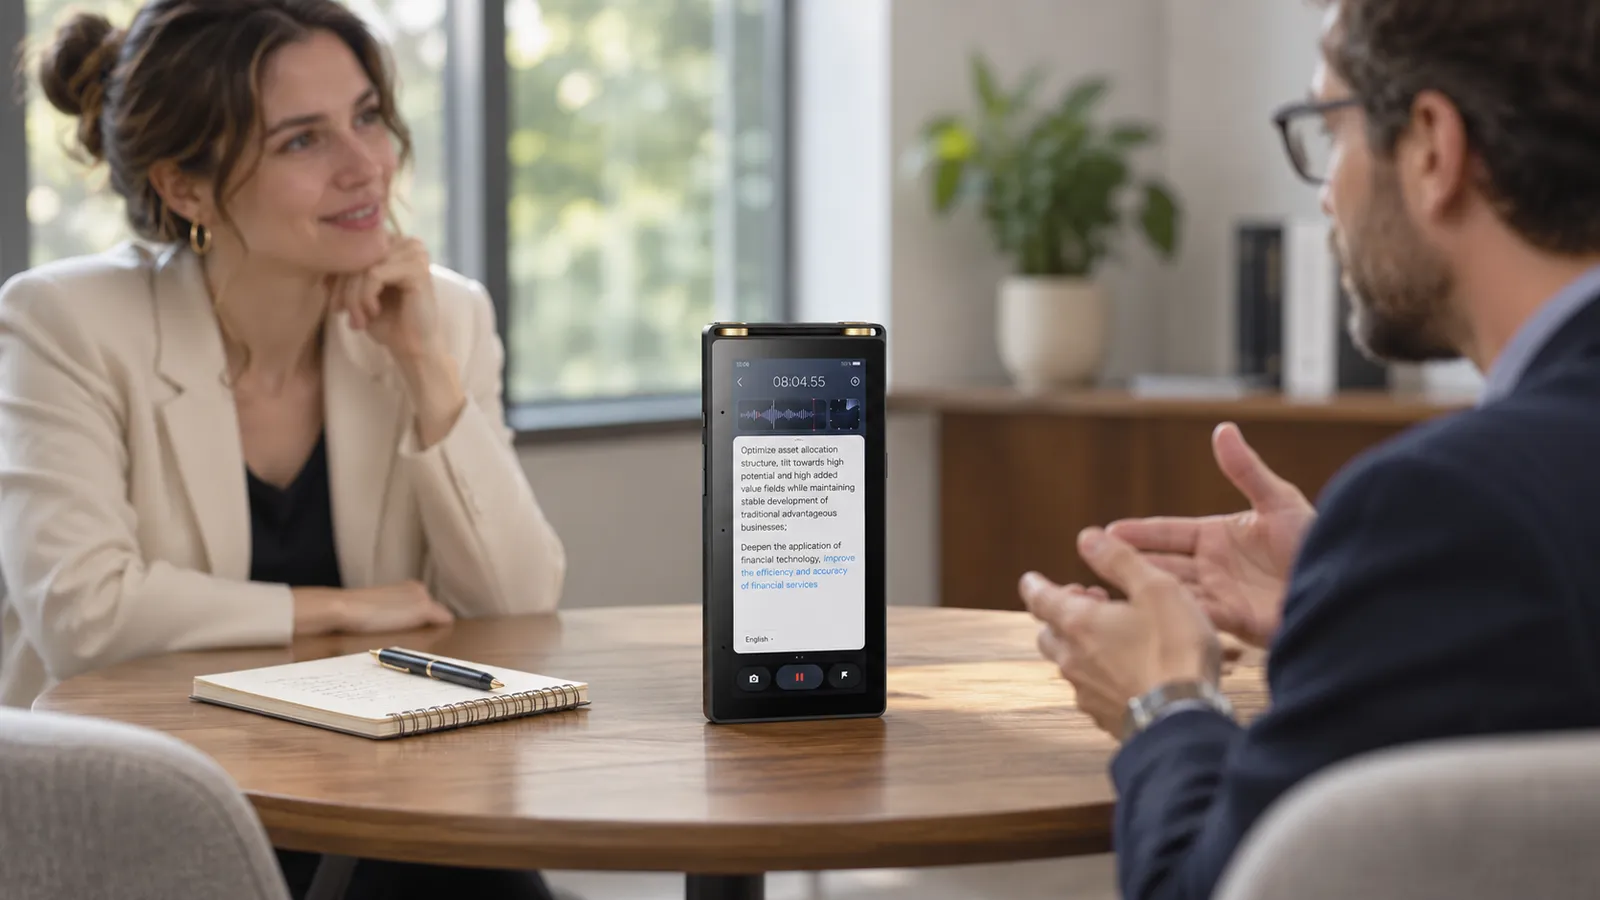
For a one-to-one interview, place the device between the interviewer and interviewee, slightly closer to the quieter speaker. Keep it away from objects that may be tapped, moved, or handled during the conversation.
Do not hide the recorder under papers or inside a bag. These materials can block higher speech frequencies and create rustling sounds. A hard tabletop can also transmit vibrations when someone types, moves a cup, or touches the table. A small soft pad beneath the device can reduce this contact noise without covering the microphones.
If the interviewee moves frequently, remind them at the beginning to remain within a comfortable speaking distance. The request does not need to interrupt the natural conversation. A simple “The recorder is right here, so normal speaking volume is fine” usually provides enough guidance.
Run a Short Test
Record 15 or 20 seconds before beginning the formal interview. Ask the interviewee a simple question, then play back the sample through headphones.
Listen for more than volume. Check whether both voices are understandable, whether the room creates a hollow echo, and whether background noise competes with speech. A test can also reveal that the device is using the wrong microphone mode or that available storage is low.
Make adjustments while the conversation has not yet started. Moving the recorder, closing a window, or turning off a nearby fan takes less than a minute. Discovering the problem after a 45-minute interview leaves few options.
Check the battery and available storage at the same time. If the device supports automatic screen locking, confirm that locking the screen will not stop the recording.
Use Notes as Markers, Not a Second Transcript
Trying to write every answer while recording often weakens the interview. The interviewer spends more time looking down and may miss an opportunity to ask a useful follow-up question.
Instead, write short markers:
“12:40 — first job”
“18:15 — product failure”
“27:30 — confirm company name”
These timestamps make later review faster. Notes can also capture body language, objects shown during the interview, or context that the microphone cannot preserve.
Mark uncertain details immediately. If a name, date, or technical term is unclear, ask the speaker to repeat or spell it. Fixing the issue in the room is more reliable than guessing from the audio later.
The notes should also track promising threads. A brief phrase such as “ask why deadline changed” helps the interviewer return to a point without interrupting the speaker too early.
Protect the Recording While It Is Running
Phones, laptops, and wireless equipment may create interruptions or encourage accidental multitasking. Put unnecessary devices on silent and disable alarms that could sound during the interview.
Do not assume a blinking indicator means the entire session is being saved correctly. Glance at the recording timer at natural pauses. If the device provides an input level display, check that speech is registering without consistently reaching the maximum.
For an especially important interview, a backup recording may be appropriate. The second device should not create more distraction or violate agreed recording conditions. Place it separately so a single table vibration or blocked microphone does not affect both files in the same way.
Avoid stopping the recording during short pauses unless the interviewee requests it. Restarting several times creates multiple files and increases the chance that part of the conversation will be missed.
Make Transcription Easier at the Source
Transcription quality improves when speakers identify themselves clearly and avoid talking over one another. This is straightforward in a one-to-one interview but becomes more difficult with panels or group discussions.
At the beginning of a group session, ask each participant to say their name. When someone joins late, capture their name before continuing. If two people speak at once during an important answer, ask one of them to repeat the main point.
Specialized vocabulary deserves attention. Create a short list of company names, product terms, locations, and acronyms before processing the file. This reference list speeds up corrections and prevents the same term from being edited differently across the transcript.
Different AI voice recorder options support different recording and transcription workflows, so the choice should reflect the interview environment. A journalist moving between locations may prioritize portability and quick export, while a researcher handling sensitive interviews may place more weight on offline processing and controlled file transfer.
Review the Transcript Against the Audio
A transcript should not be treated as final simply because every line contains readable text. Proper names, figures, technical terms, and short responses are frequent sources of error.
Begin with the sections marked during the interview. Then check passages where the wording changes the meaning, such as quotations, dates, prices, medical terminology, or legal language.
Use the audio to resolve unclear sentences instead of rewriting them into what the speaker probably meant. If a word cannot be confirmed, mark it as unclear with a timestamp. A visible uncertainty is more responsible than a confident but incorrect substitution.
Decide how much cleanup the transcript needs. Light editing may remove filler words and repeated starts while preserving the speaker’s meaning. Research, legal, or archival work may require a closer verbatim record. The intended use should determine the level of editing.
Name and Store the Files Immediately
A file called “REC001” provides little help several months later. Rename the recording and transcript as soon as possible using a consistent structure:
“2026-05-18_ClientName_Interview01”
Keep the original audio unchanged. Create a separate working copy for editing or transcription so the source file remains available if something goes wrong.
Store the consent record, audio, transcript, and interview notes together when policy allows. If a USB export creates a copy on a computer, check whether that folder is included in an automatic cloud backup. Delete temporary versions when they are no longer needed rather than allowing copies to accumulate across downloads folders and recent-file lists.
Visit this website: Official PDF Compressor Options With Different Compression Levels: Adobe Acrobat Online, Smallpdf, iLovePDF, PDF24, and Sejda
The interview is not finished when the recorder stops. It is finished when the audio is understandable, the transcript has been checked, and the files can be found without relying on someone’s memory.